ShareX
ShareX is a FOSS screenshotting utility for Windows. While it’s possible that some enterprise screenshotting tools have more features, ShareX can do nearly anything you could possibly want, and it’s free, so it’s the best.
The one downside is that while its usage UX is fine - great, even - its configuration UX is pretty complicated.1 In this article I’ll explain just one small feature, image effects.
Image effects
Here are a couple screenshots of my ShareX hotkeys:
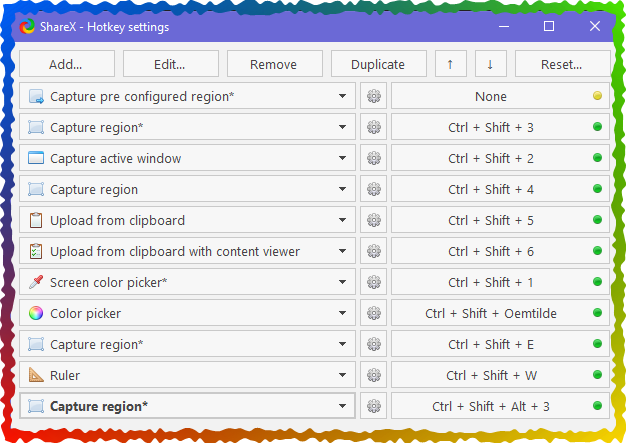
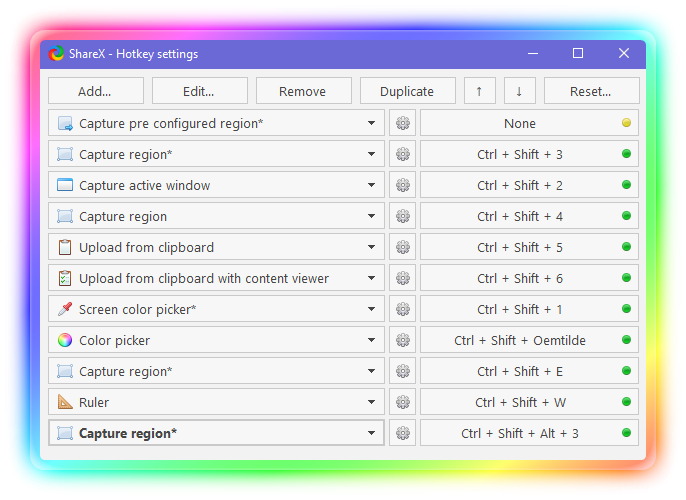

Wow, so pretty and fun! I must have taken one screenshot and then edited it in Photoshop or something, right?
Nope, this is built-in ShareX functionality.
Setting up default image effects
The image effects documentation tells you a bit about how to configure image effects, but it’s missing a bit, and it only works if you want to add image effects by default. If you want one hotkey that adds an image effect and another that doesn’t, then it won’t quite work. But let’s go over the default case first.
- Download any of the image effects you like. If you plan to create your own image effects and then save them, ShareX will by default place these in its configuration folder, something like
C:\Users\River\Documents\ShareX\ImageEffectsunless you changed it. So, you may want to download your effects to here also. - As it says, double-click open the effects. This will add the effects as optional preloads to your default “After Capture” action. If you want to add preloads to a hotkey’s overriding after capture effects, you’ll have to click-and-drag them specifically to that hotkey’s dialog, but more on that later.
- Edit the effect if you like; and if you have multiple preloads, leave the one you want to use selected.
- Open the task settings (remember, we’re still talking about default settings, not any hotkey), and go to Image > Effects.
- This is how you get back to the image effects window later to edit or choose a new default one.
- If you want to pick a different effect after each capture, select the box “Show image effects window after capture” (imo recommended).
- Applying only to region capture is up to you - I’m not adding effects by default, so I don’t care about this.
- Your effect is now enabled by default, but hotkeys can complicate this.
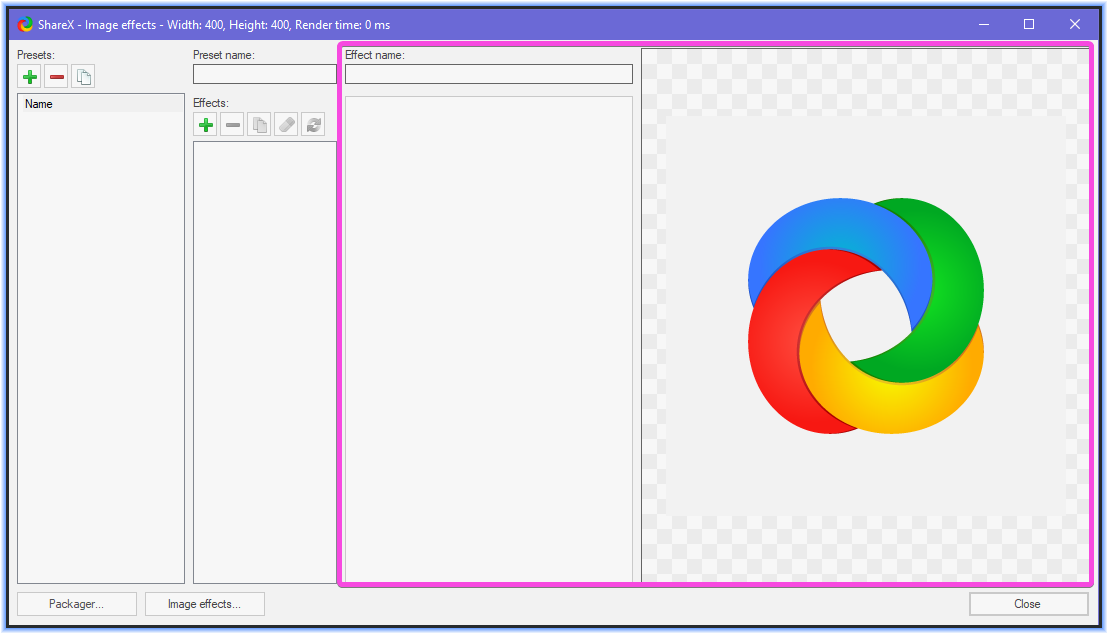
Supporting transparency
By default, ShareX doesn’t handle alpha-values well. So, if you want to do an effect where the border will be jagged, or have a border-radius, or be a gradient fading into nothing, you’ll need to change ShareX’s copying behavior. Open the application settings (right click on system tray icon and then “Application settings”) and under “Advanced,” enable UseAlternativeClipboardCopyImage and UseAlternativeClipboardGetImage.
![]()
Changing behavior of the system tray icon
If you like to take screenshots by clicking the system tray icon instead of using a shortcut, then here’s how to enable image effects for your current settings:
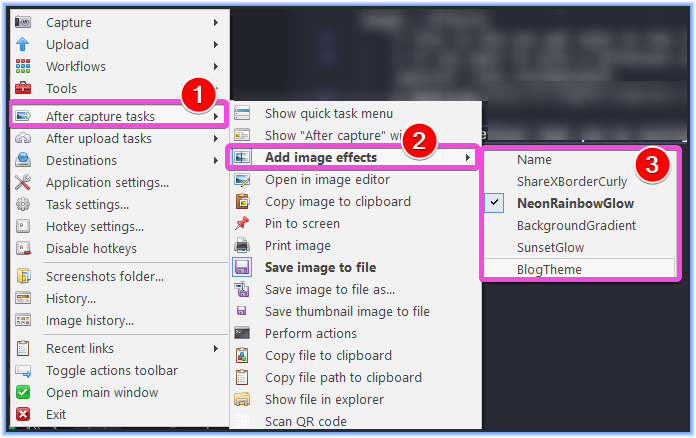
- Image effects are located under “After capture tasks.”
- In addition to being a submenu, this button is clickable. Toggle it to enable/disable effects.
- Pick which effect you want to apply. If you have the “show image effects window” option selected, this will change which is shown by default when that window pops up, but you can change it.
Setting up image effects for hotkeys
If you followed the instructions in the previous section, then your image effect settings will apply whenever you aren’t overwriting your after-capture tasks.
But what if you are overwriting after-capture tasks?
- Add
Add image effectsto your list of “override after capture tasks” things. - Now, your default image effects settings will be applying on this hotkey.
- If you want different image effects behavior (e.g. one hotkey to apply one kind of effect, and one to apply another) then first you have to enable overriding image settings:
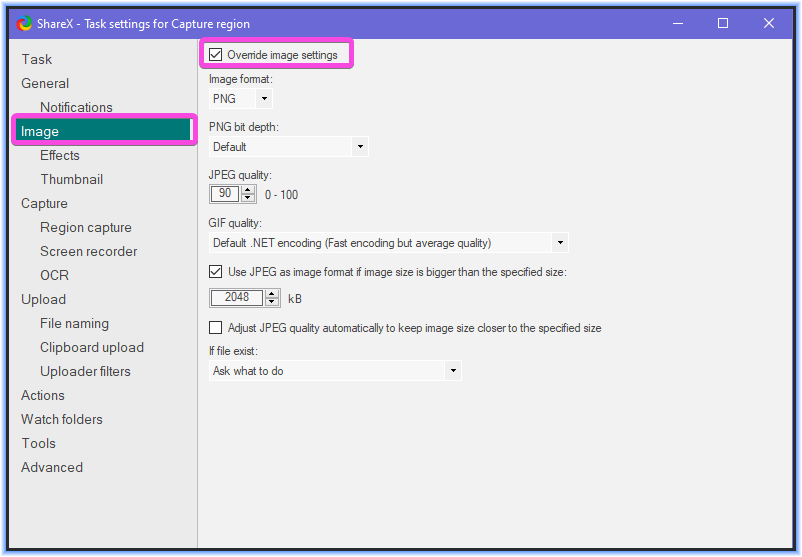
- Go to the “Effects” tab and click “Image effects configuration.”
- Now you’re in a window that’s completely decoupled from the default effects config. So, if you want to open any saved preloads, you’ll need to click-and-drag the
.sxie2 files to somewhere on the right side of the window, somewhere here:
The “show window after capture” setting
So far, I’ve been using the setting “Show image effects window after capture” any time I want an effect. It’s not that much work to click a confirmation button, and this way I don’t have to go back and adjust my hotkey settings any time I want a different effect.
For the most part, this window will work as you expect it, except that the confirmation button is called “Close.” That’s probably because the string is reused from its meaning as “close settings window” when you are specifying default or hotkey settings, but it doesn’t make as much sense when the window is invoked during a task. Still, as long as you remember “close means confirm” here, you should be good to go.
Finally, I recommend adding a preset called “None” that applies no effects at all. This way, you’re good to “cancel” the effect without having to redo your screenshot.
A final note on design
Keep in mind that while it’s really cool that you can add effects like this, they might fall into the category of “design customizations that the creator finds really fun but users hate” - just like custom cursors. Don’t go overboard with these! But here’s a few cases you might want to use them:
- A subtle border for screenshots that fits into your design system well: Drawings -> Border & optionally Manipulations -> Rounded corners.
- Replicating a UI: Drawings -> Image, and then edit the ImageLocation. Then you can add some UI around your screenshot if you want to demonstrate that e.g. Figma is being used. You could also use this type of effect to add a meme layout around a set of screenshots.
- Adding a watermark. This can be a literal watermark, but it can also be used to show some info about your screenshot, e.g. the time you took it at or image dimensions. Here’s an example watermark with some settings changed:
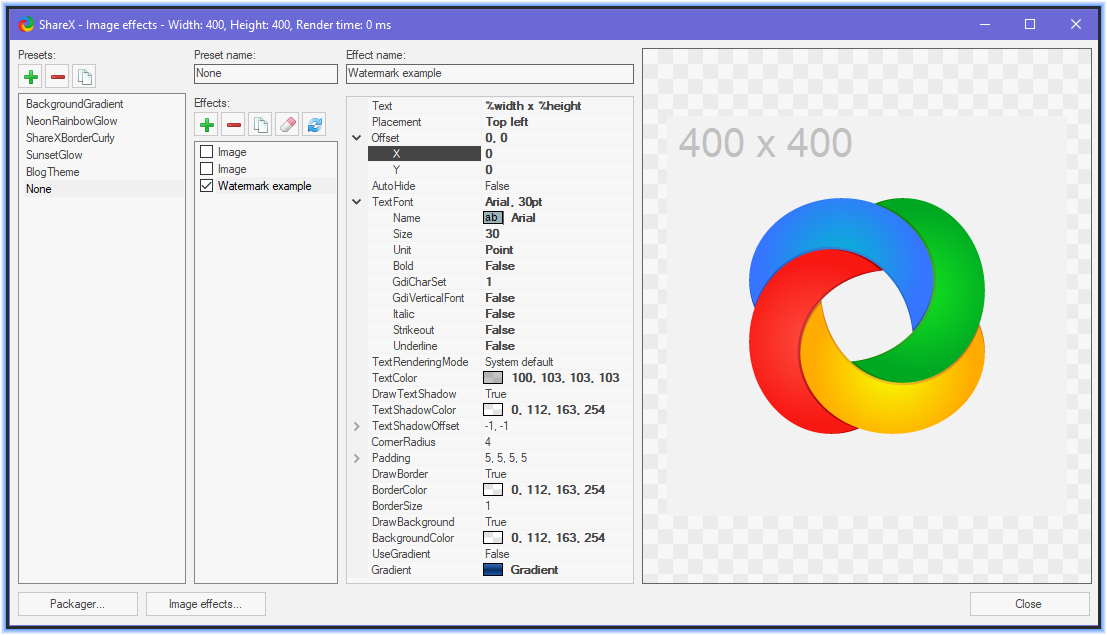
I’m a huge fan of the super bright rainbow effects that ShareX suggests for you, but I have to admit that they’re often not going to be appropriate.
So have fun drawing, but remember to make content for your users - not for yourself!